# Install Pomerium using Helm
This quick-start will show you how to deploy Pomerium with Helm (opens new window) on Kubernetes (opens new window).
# Prerequisites
- Install kubectl (opens new window).
- Install helm (opens new window).
- A Kubernetes provider.
A cluster, with your local
kubectlauthorized to interact with it. The cluster configuration and node pool will depend on your provider and the scope of your project.Export the configuration file from your Kubernetes host and export it to your
KUBECONFIGenvironment variable (usually by placing it in~/.kube).See Organizing Cluster Access Using kubeconfig Files (opens new window) for more information.
A namespace in the cluster for Pomerium. This document assumes the namespace
pomerium.
- A configured identity provider.
- TLS certificates. If you don't yet have a production environment with trusted certificates, this page will cover using mkcert (opens new window) to create locally trusted certificates, and cert-manager (opens new window) to manage them in the cluster.
TIP
This configuration installs Redis as the data broker service. While this isn't strictly required when running Pomerium by itself, it is necessary for Pomerium Enterprise, and still highly recommended if not.
# Certificates
This setup uses mkcert (opens new window) to generate certificates that are trusted by your local web browser for testing, and cert-manager to manage them. If you already have a certificate solution, you can skip the steps below and move on to the next stage.
# Install mkcert
After installing mkcert (opens new window), confirm the presence and names of your local CA files:
mkcert -install
The local CA is already installed in the system trust store! 👍
The local CA is already installed in the Firefox and/or Chrome/Chromium trust store! 👍

ls "$(mkcert -CAROOT)"
rootCA-key.pem  rootCA.pem
The output of mkcert -install may vary depending on your operating system.
# Install and Configure cert-manager
If you haven't already, install cert-manager and create a CA issuer. You can follow their docs (listed below) or use the steps provided:
Create a namespace for cert-manager:
kubectl create namespace cert-managerAdd the jetstack.io repository and update Helm:
helm repo add jetstack https://charts.jetstack.io
helm repo update
Install cert-manager to your cluster:
helm install cert-manager jetstack/cert-manager --namespace cert-manager --create-namespace \
--version v1.4.0 --set installCRDs=true
Confirm deployment with
kubectl get pods --namespace cert-manager:kubectl get pods --namespace cert-manager NAME READY STATUS RESTARTS AGE cert-manager-5d7f97b46d-8g942 1/1 Running 0 33s cert-manager-cainjector-69d885bf55-6x5v2 1/1 Running 0 33s cert-manager-webhook-8d7495f4-s5s6p 1/1 Running 0 33sIn your Pomerium namespace, create a Kubernetes secret for the rootCA-key file in your local CA root:
kubectl create secret tls pomerium-tls-ca --namespace=pomerium \
--cert="$(mkcert -CAROOT)/rootCA.pem" --key="$(mkcert -CAROOT)/rootCA-key.pem"
Define an Issuer configuration in
issuer.yaml:apiVersion: cert-manager.io/v1 kind: Issuer metadata: name: pomerium-issuer namespace: pomerium spec: ca: secretName: pomerium-tls-caApply and confirm:
kubectl apply -f issuer.yaml
issuer.cert-manager.io/pomerium-issuer created

kubectl get issuers.cert-manager.io --namespace pomerium
NAME              READY   AGE
pomerium-issuer   True    10s
# Install Pomerium
Set your
kubectlcontext to the Pomerium namespace:kubectl config set-context --current --namespace=pomeriumCreate certificate configurations for Pomerium. Our example is named
pomerium-certificates.yaml, to differentiate from a configuration file for Pomerium Enterprise, if you choose to install it later:apiVersion: cert-manager.io/v1 kind: Certificate metadata: name: pomerium-cert namespace: pomerium spec: secretName: pomerium-tls issuerRef: name: pomerium-issuer kind: Issuer usages: - server auth - client auth dnsNames: - pomerium-proxy.pomerium.svc.cluster.local - pomerium-authorize.pomerium.svc.cluster.local - pomerium-databroker.pomerium.svc.cluster.local - pomerium-authenticate.pomerium.svc.cluster.local - authenticate.localhost.pomerium.io # TODO - If you're not using the Pomerium Ingress controller, you may want a wildcard entry as well. #- "*.localhost.pomerium.io" # Quotes are required to escape the wildcard --- apiVersion: cert-manager.io/v1 kind: Certificate metadata: name: pomerium-redis-cert namespace: pomerium spec: secretName: pomerium-redis-tls issuerRef: name: pomerium-issuer kind: Issuer dnsNames: - pomerium-redis-master.pomerium.svc.cluster.local - pomerium-redis-headless.pomerium.svc.cluster.local - pomerium-redis-replicas.pomerium.svc.cluster.localTIP
If you already have a domain space for Pomerium with a certificate solution, use it in place of
.localhost.pomerium.io.Apply the certificate configuration, and confirm:
kubectl apply -f pomerium-certificates.yamlkubectl get certificate NAME READY SECRET AGE pomerium-cert True pomerium-tls 10s pomerium-redis-cert True pomerium-redis-tls 10sCreate a values file for Helm to use when installing Pomerium. Our example is named
pomerium-values.yaml.authenticate: existingTLSSecret: pomerium-tls idp: provider: "google" clientID: YOUR_CLIENT_ID clientSecret: YOUR_SECRET serviceAccount: YOUR_SERVICE_ACCOUNT proxied: false proxy: existingTLSSecret: pomerium-tls databroker: existingTLSSecret: pomerium-tls storage: connectionString: rediss://pomerium-redis-master.pomerium.svc.cluster.local type: redis clientTLS: existingSecretName: pomerium-tls existingCASecretKey: ca.crt authorize: existingTLSSecret: pomerium-tls redis: enabled: true auth: enabled: false usePassword: false generateTLS: false tls: certificateSecret: pomerium-redis-tls ingressController: enabled: true config: rootDomain: localhost.pomerium.io existingCASecret: pomerium-tls generateTLS: false # On by default, disabled when cert-manager or another solution is in place. # The policy block isn't required when using the Pomerium Ingress Controller, as routes are defined # by the addition of Ingress Resources. # routes: # # This will be our testing app, to confirm that Pomerium is authenticating and routing traffic. # - from: https://authenticate.localhost.pomerium.io # to: https://pomerium-authenticate.pomerium.svc.cluster.local # preserve_host_header: true # allow_public_unauthenticated_access: true # policy:TIP
The options required in the
authenticate.idpblock will vary depending on your identity provider.If you changed the
*.localhost.pomerium.iovalue inpomerium-certificates.yamlupdateconfig.rootDomainto match, omitting the*.Add Pomerium's Helm repo:
helm repo add pomerium https://helm.pomerium.ioInstall Pomerium to the cluster:
helm upgrade --install pomerium pomerium/pomerium --values ./pomerium-values.yaml
# Define a Test Service
So that we can create a valid test route, add Bitnami's Helm repo to pull nginx from:
helm repo add bitnami https://charts.bitnami.com/bitnamiUpdate Helm:
helm repo updateInstall nginx to the cluster:
helm upgrade --install nginx bitnami/nginx --set service.type=ClusterIPCreate a new Ingress manifest (
example-ingress.yaml) for our test service:apiVersion: networking.k8s.io/v1 kind: Ingress metadata: name: hello annotations: cert-manager.io/issuer: pomerium-issuer ingress.pomerium.io/policy: '[{"allow":{"and":[{"domain":{"is":"example.com"}}]}}]' spec: ingressClassName: pomerium rules: - host: hello.localhost.pomerium.io http: paths: - backend: service: name: nginx port: name: http path: / pathType: Prefix tls: - hosts: - hello.localhost.pomerium.io secretName: hello.localhost.pomerium.io-tlsApply the nginx Ingress manifest to the cluster:
kubectl apply -f example-ingress.yaml
# Navigate
If you are installing Pomerium with a valid domain name and certificates, update your DNS records to point to the external IP address of the pomerium-proxy service:
kubectl get svc pomerium-proxy
NAME             TYPE           CLUSTER-IP       EXTERNAL-IP      PORT(S)                        AGE
pomerium-proxy   LoadBalancer   10.128.117.25    192.0.2.20       443:30006/TCP,9090:30707/TCP   2m37s
For development and testing, you can use kubectl to create a local proxy:
sudo -E kubectl --namespace pomerium port-forward service/pomerium-proxy 443:443
Open a browser and navigate to hello.localhost.pomerium.com.
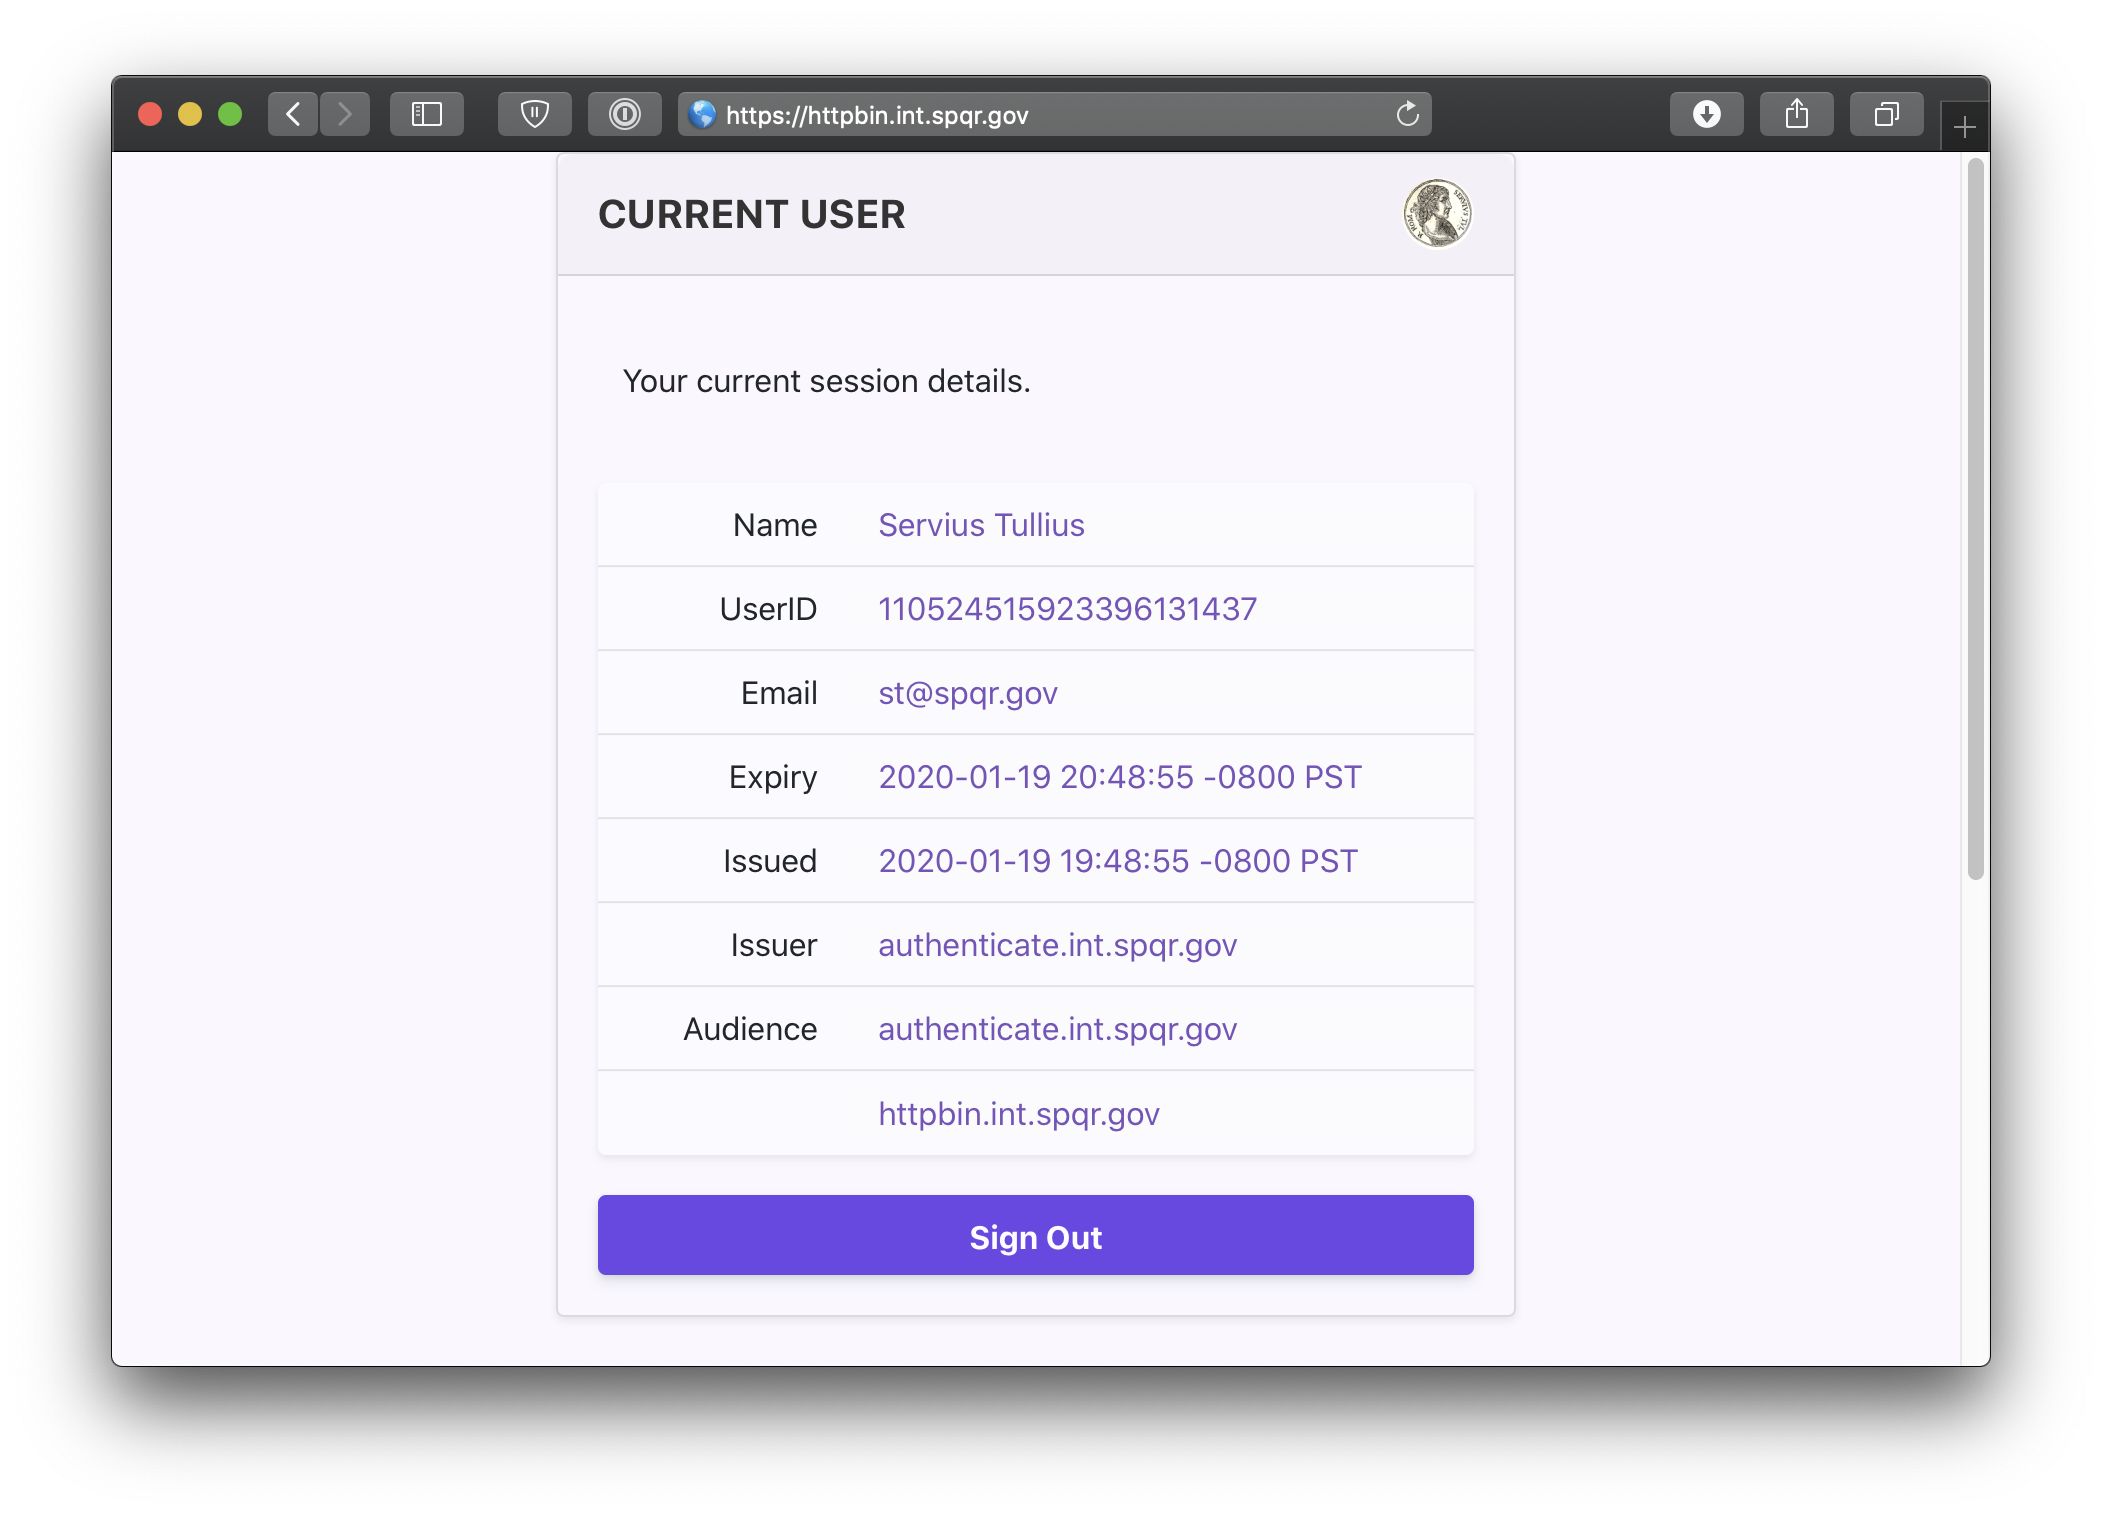
You can also navigate to the special pomerium endpoint hello.localhost.pomerium.com/.pomerium/ to see your current user details.
# Next Steps
Congratulations on installing Pomerium to your Kubernetes cluster! If you're installing Pomerium Enterprise next, see Install Pomerium Enterprise in Helm. If not, check our our guides to install common services behind Pomerium.
← Quick-Start Binaries →